In the previous two blog posts, we installed and configured the Microsoft Certificate Service, prepared a certificate template, and configured a service account to follow the least privilege policy. In this blog post, we will bring everything together by integrating the Microsoft CA with VCF’s SDDC Manager and requesting a certificate from the CA for the VCF components.
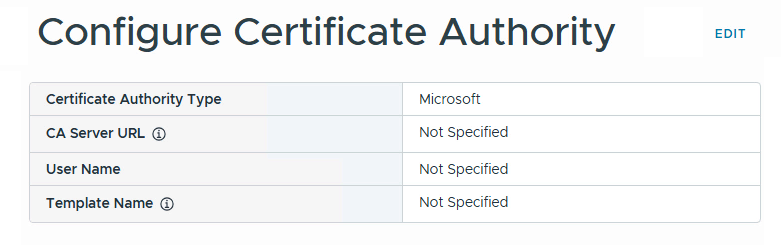
Connect to the SDDC Manager UI, log in with a privileged user account, and choose the Certificate Authority option on the left panel. Then click on Edit to open the configuration page.
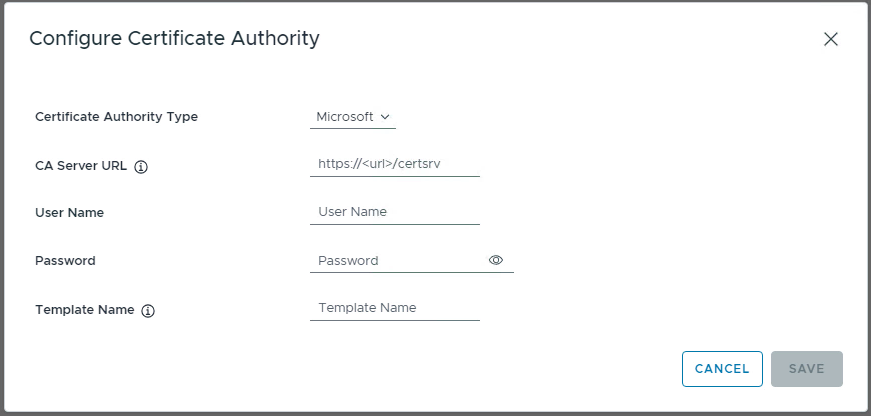
Choose Micorosft as the CA Type, configure the Web Enrolment URL as https://{CA-Server}/certserv, and remember it should be HTTPS(Secure HTTP). Then, configure the Service Account in UPN format and the respective password. Finally, enter the template name created in the previous step and click Save. You will get CA certificate details and choose to accept to complete the configuration.
With all the configuration we undertook, we can finally start replacing the certificates. Remember, this process will be automated, but we still need to go through the steps below for the replacement. The steps that are clearly shown in the UI are:
1- Generate Certificate Signing Request
2- Generate Signed Certificate
3- Install Certificates
To start the replacement process, on the left panel under Inventory, click on Workload Domains and choose the workload domain you want to work on. In my case, I chose the Management workload domain. Choose the certificates tab, and then you’ll see VCF components for the certificate management.
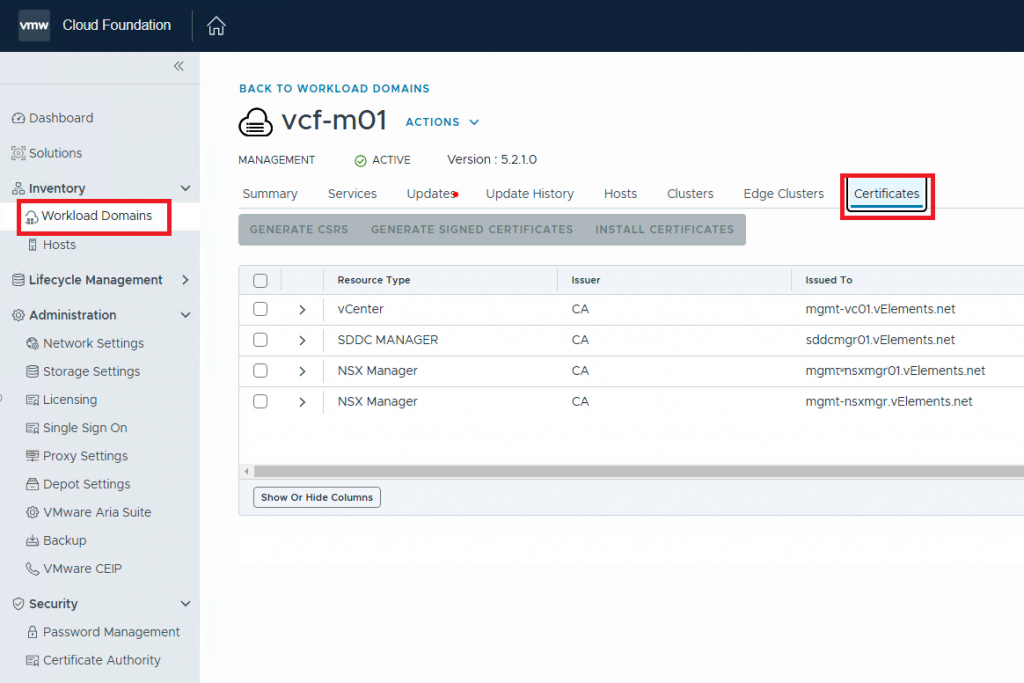
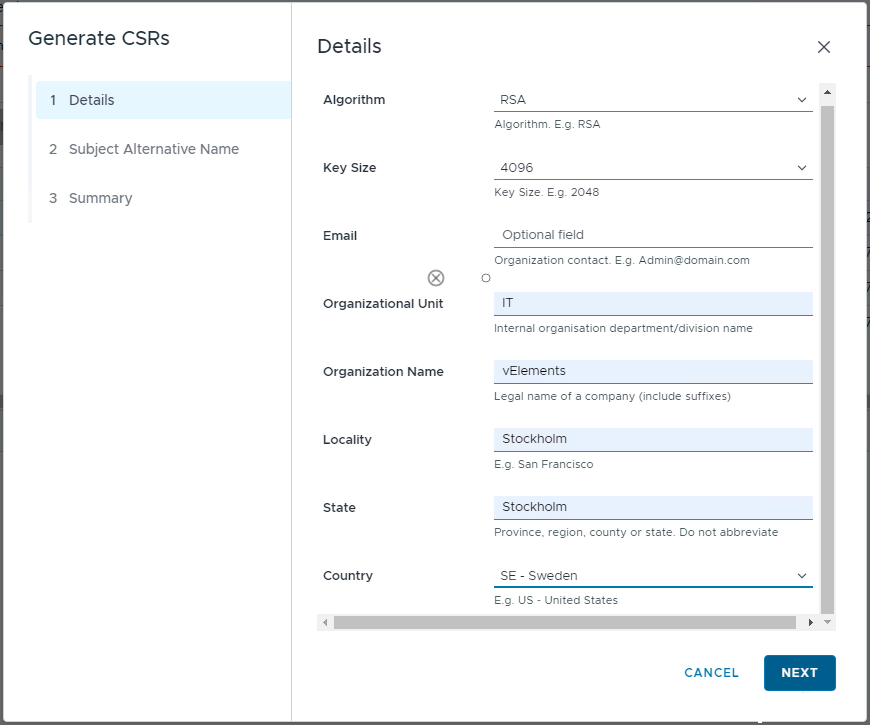
In this case, the vCenter server will be the component for which we want to generate the certificate. So choose vCenter and then Generate CSRS. A window will open so you can fill in the information about the certificate request. Then, on the second page, in the case of Subject Alternate Name(SAN), enter the alternate DNS names.
When the CSR is generated, we can continue with Generating Signed Certificate and finally Install the Certificate on the selected component.
After installing the certificate, you must restart the services of the component for which you placed the certificate.
In the case of the vCenter Server, SSH to the vCenter server and run the below commands
#service-control --stop --all
#service-control --start --all
In the case of SDDC Manager, ssh to SDDC Manager and run the below command
Sh /opt/vmware/vcf/operationsmanager/scripts/cli/sddcmanager_restart_services.shAfter rebooting the services, wait for a few minutes, connect to the component, and check the SSL certificate on the browser. In this case, I connect to the vCenter server and now see that the certificate is valid. You can also go further and check the certificate to make sure it aligns with the CSR.
With the integration of SDDC Manager with Micorosft CA, you can also easily replace NSX Manager Certificates. If you want to replace NSX Manager certificates, you can also follow the steps I explained in this post.